Generally a model is deployed via a web server. AgentScript is deployed via github pages (which turns a repo into a server) and by publishing to NPM (Node Package Manager). Recently Content Delivery Networks (CDNs) have picked up the NPM deployments. AgentScript is available on unpkg.com
We'll show how to use a special kind of web server, a playground which requires no installation on your desktop and instead runs completely in the browser. We'll use CodePen, one of the most popular playgrounds.
CodePen
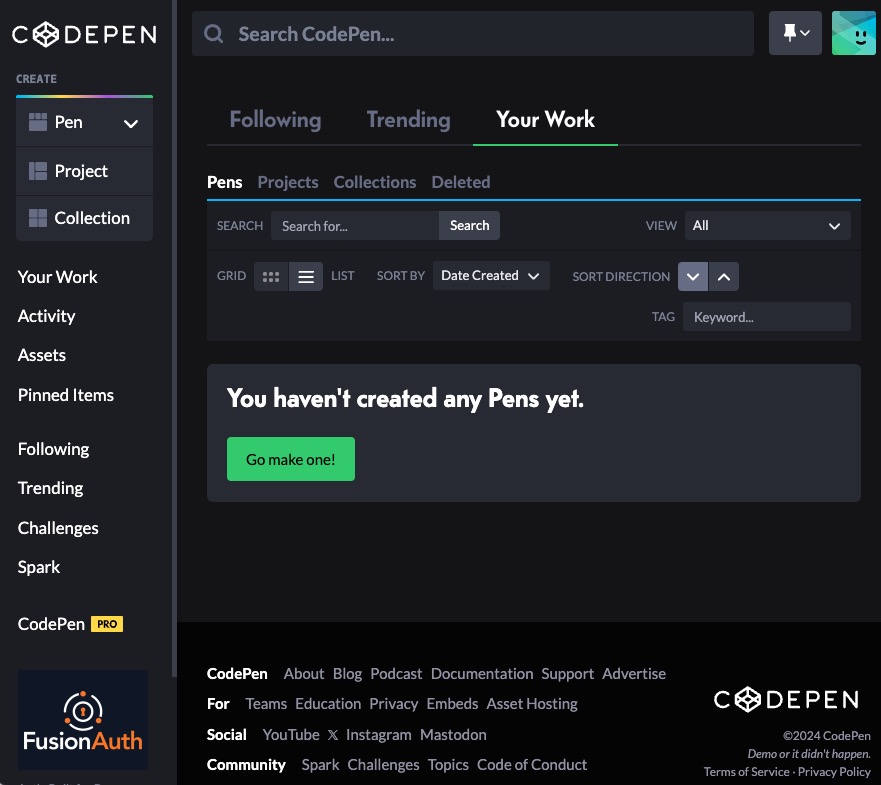
Start by going to CodePen and creating a free account. It'll start out something like this:
Create a Pen
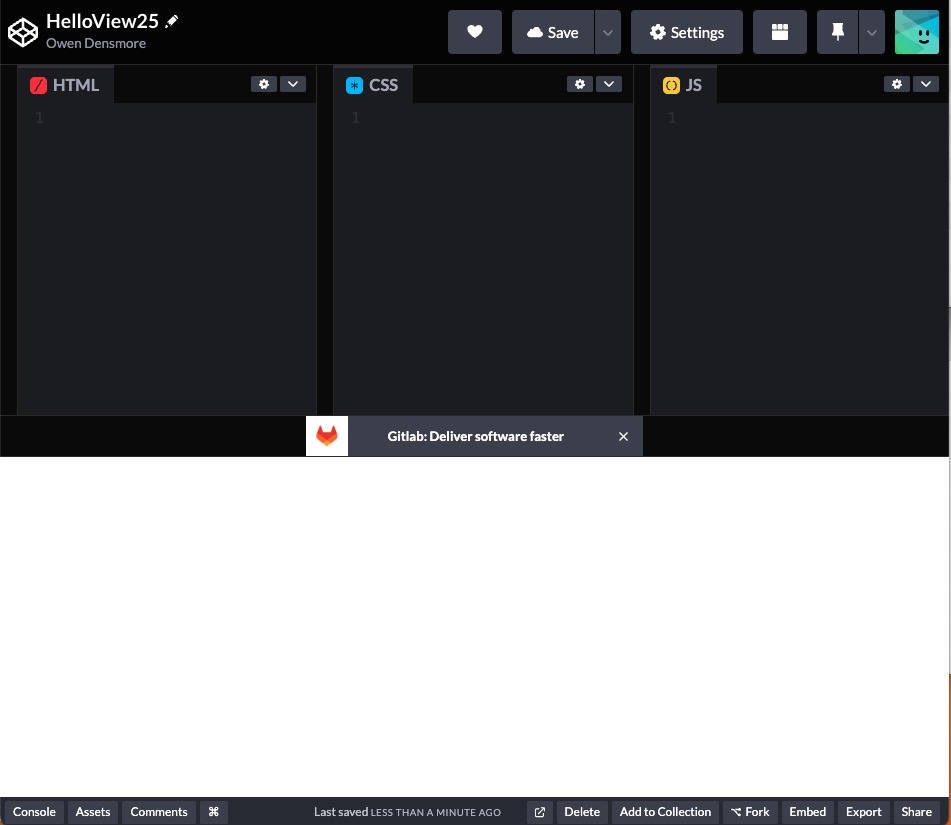
Lets create our first Pen .. click on the "Go make one!" button or the Pen button on the top left sidebar above. Click on Untitled and give your Pen a name. I'll use HelloView25. Save it.
Add hello.html
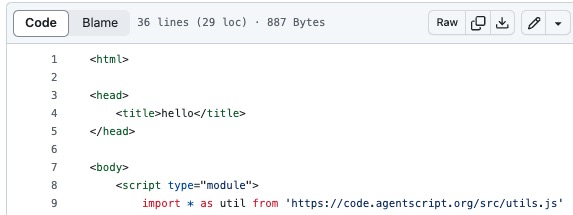
We'll go to directly to GitHub for our models rather than downloading as we did in Running Locally in the View tutorial.
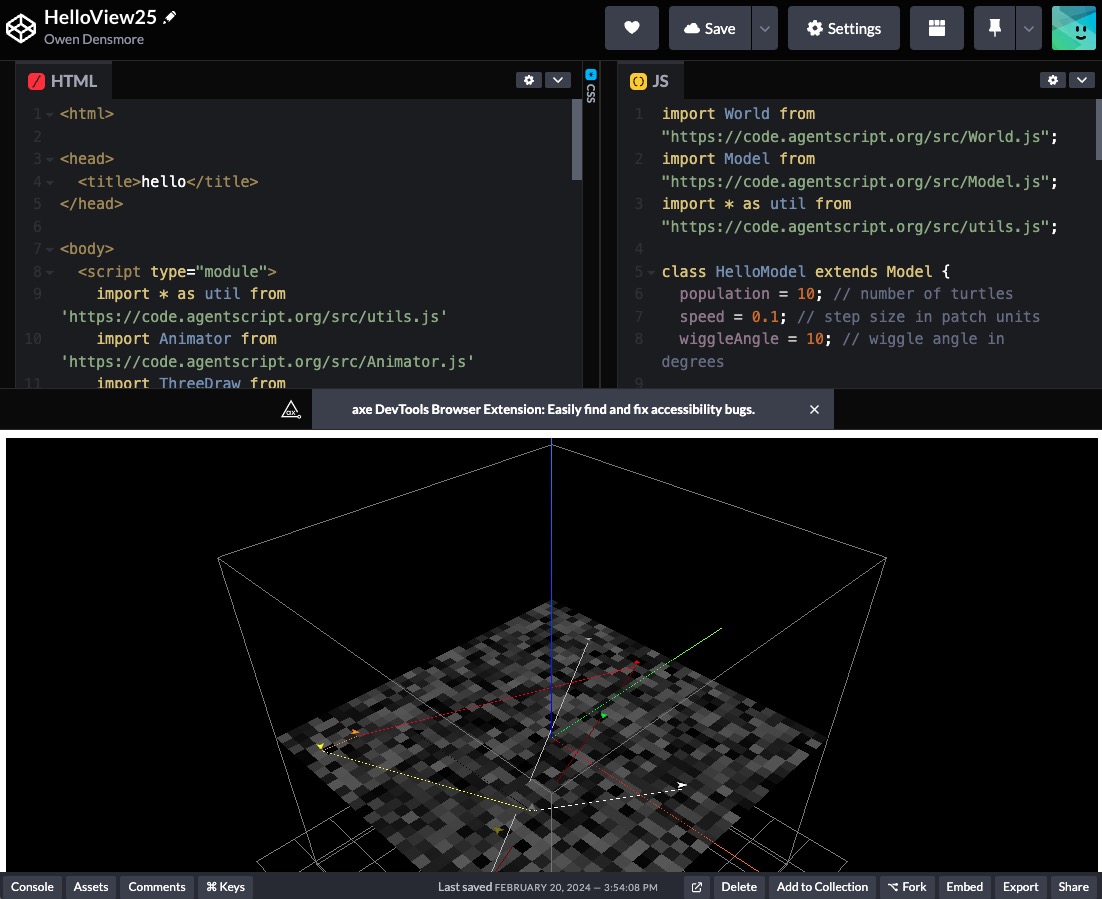
Lets start with the views25 folder in the list on the left. Click on it and then the hello.html file. Click on Raw, then paste the results in you Pen's HTML area
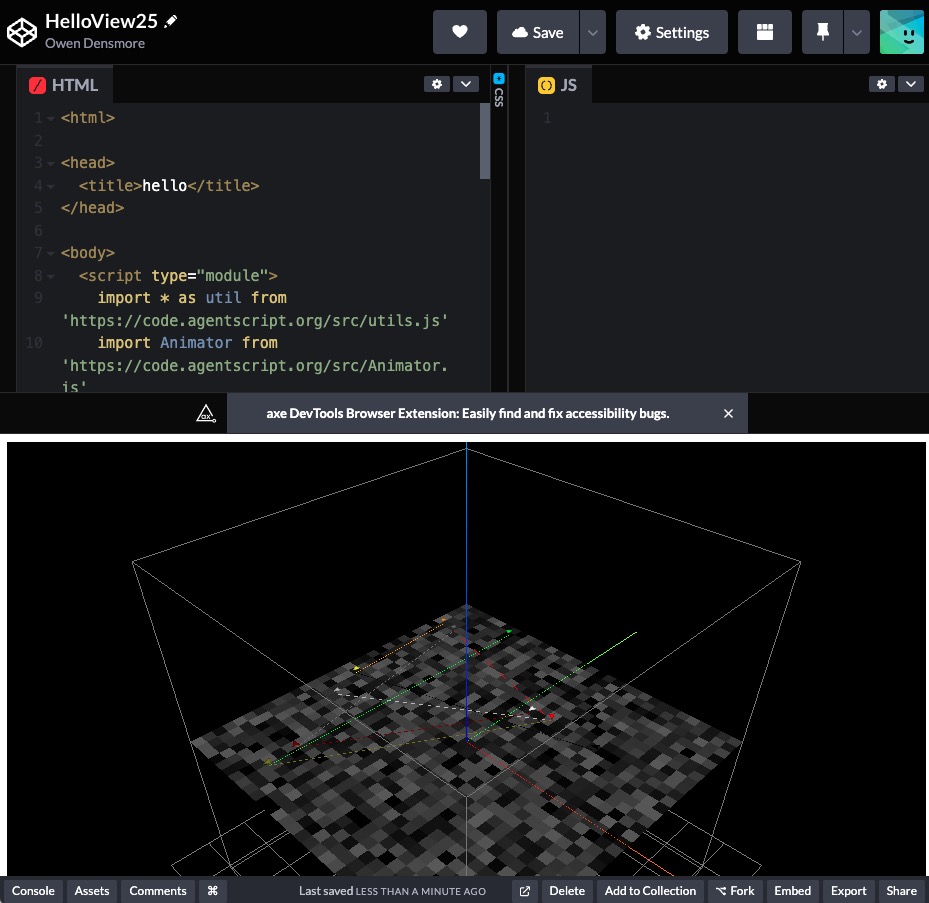
Paste that into your Pen's HTML pane. The model starts up right away! That's because our HTML imports the Model as well as the View. Notice I've minified the CSS panel by dragging it.
Add HelloModel.js
Our next step is to put the Model code in our JS pane. On github navigate to our HelloModel.js by clicking on agentscript > models > HelloModel.js. Again click on Raw, then paste the results in you Pen's JS area.
Modify hello.html to use local HelloModel.js
Finally we want to have the HTML pane point to the JS pane rather than importing from Github so that we can modify the Model and View, as we did in the LocalDeploy tutorial.
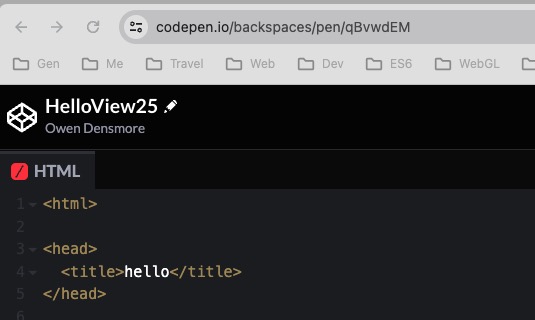
Each Pen has it's own url, showing in your browser's URL. Here it is: https://codepen.io/backspaces/pen/qBvwdEM (it may have an extension like ?editors=xxxx which we won't need.)
Find yours and paste it into a new browser tab or window. It'll show a new instance of your Pen. This is great for sharing with others, just what servers are good at!
In your HTML pane, we'll replace the Model import with your URL above with a .js extension:
- import Model from 'https://code.agentscript.org/models/HelloModel.js'
=> - import Model from 'https://codepen.io/backspaces/pen/qBvwdEM.js'
One last change to our Pen, a Run button. Pens are outo-saved periodially, but we want to add a button to run when we change the Model or View. To do so:
- Click on Settings (the gear icon)
- Click on Behavior
- Turn off Auto-Updating
- Click Save & Close

Oh and you can click on the button to the right of Settings to change the View. I'll place the panes on the left side. And widen the browser.
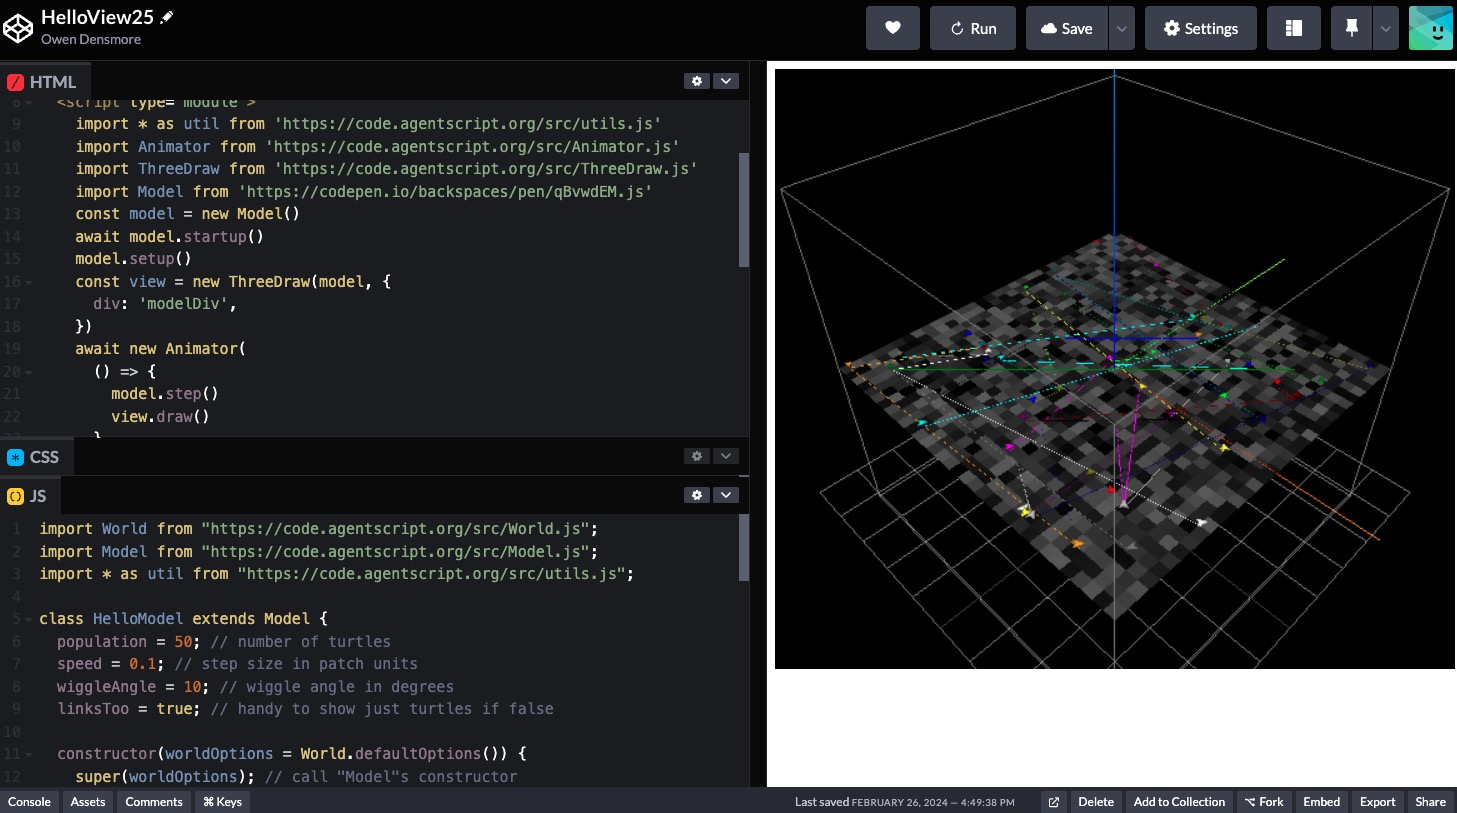
Modify the HTML and JS panels
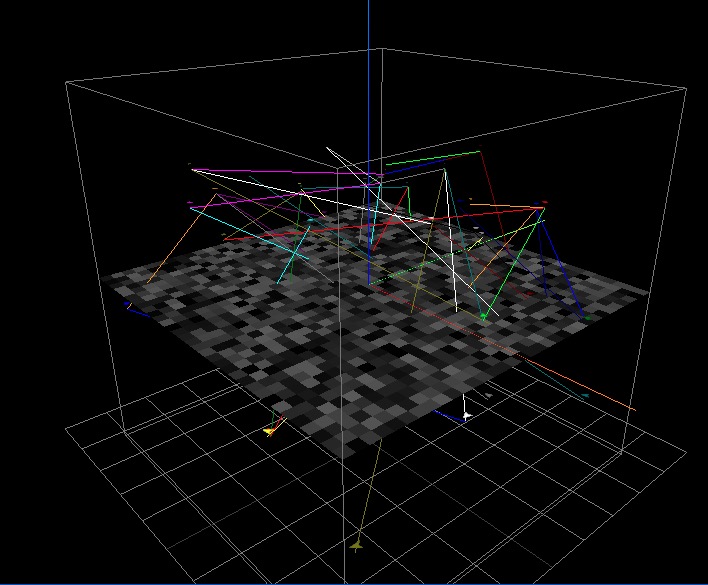
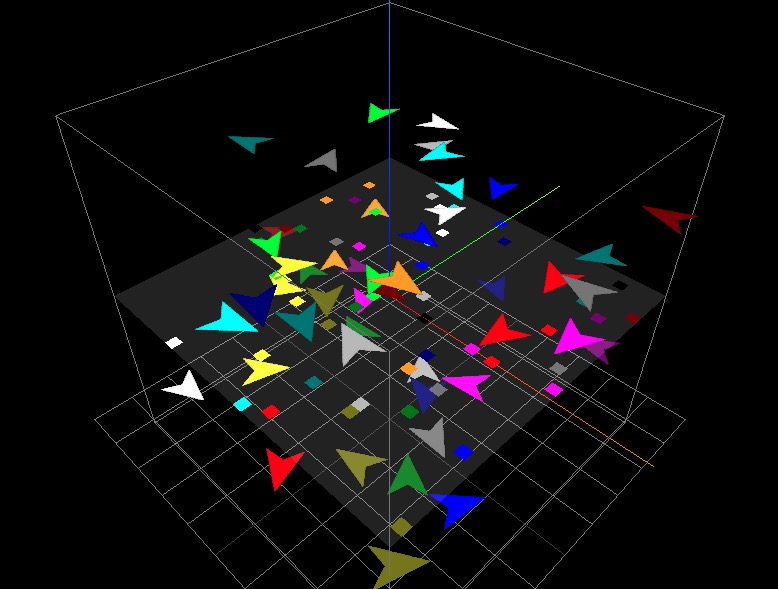
Our first update will be to move all the turtles above the patches. This is good because the patches and links interfere a bit now.
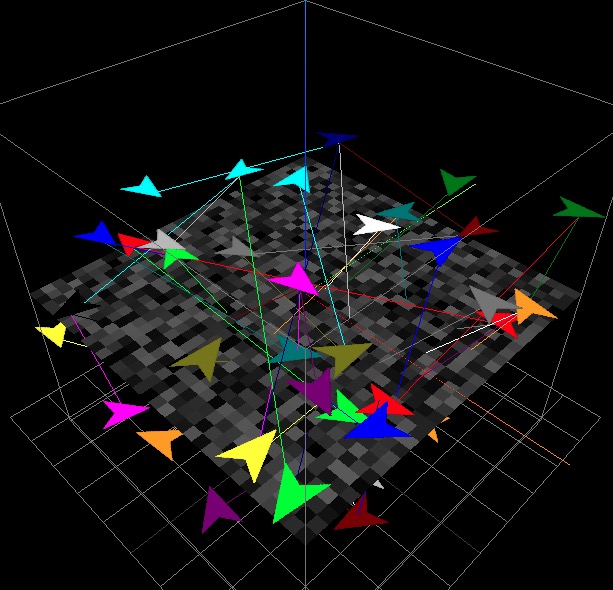
Just after model.setup() in the HTML, add: model.turtles.ask(t => t.z = 1) and run it, changing the turtle's z value from 0 to 1.
Lets change the number of turtles. In the JS pane, changepopulation = 10 to population = 50, then save & run.
Lets give the turtles a more interesting z value. In the HTML pane, changemodel.turtles.ask(t => t.z = 1) tomodel.turtles.ask(t => t.z = util.randomCentered(20))
Next, lets change the turtles size to 4 (patches). Due to our MVC architecture, the size is set in the View, because the model only needs turtles x,y,z and heading!
To change the View, we add drawOptions like so:
const drawOptions = {
    turtlesSize: 4,
}
const view = new ThreeDraw(model, {
    div: 'modelDiv',
    drawOptions,
})
Go ahead and make the change. It'll look like:
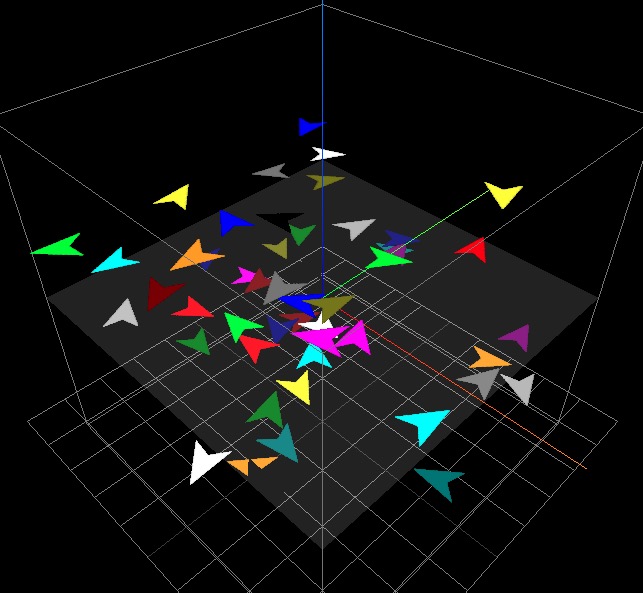
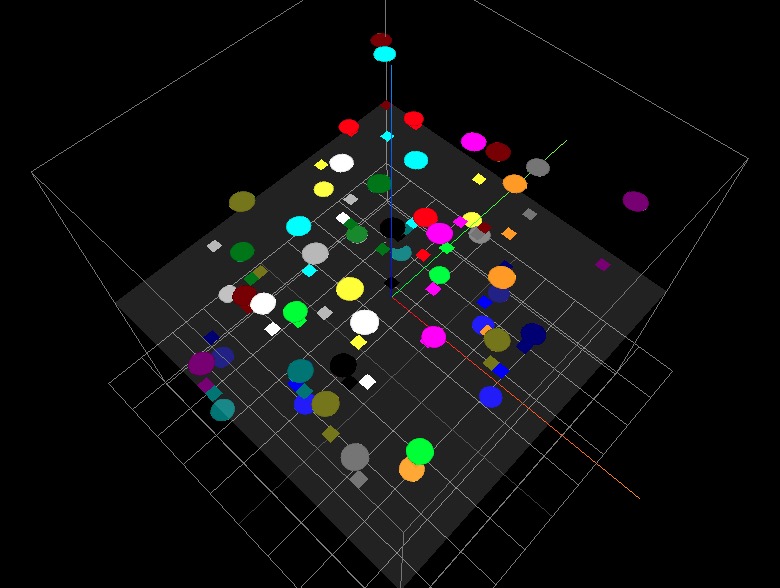
Lets play with patches. First simply convert them to a transparent white with opacity of 15%. This is especially important with 3D due to wanting to see what's below z = 0!
const drawOptions = {
    turtlesSize: 4,
    patchesColor: 'rgba(255,255,255,0.15)',
}
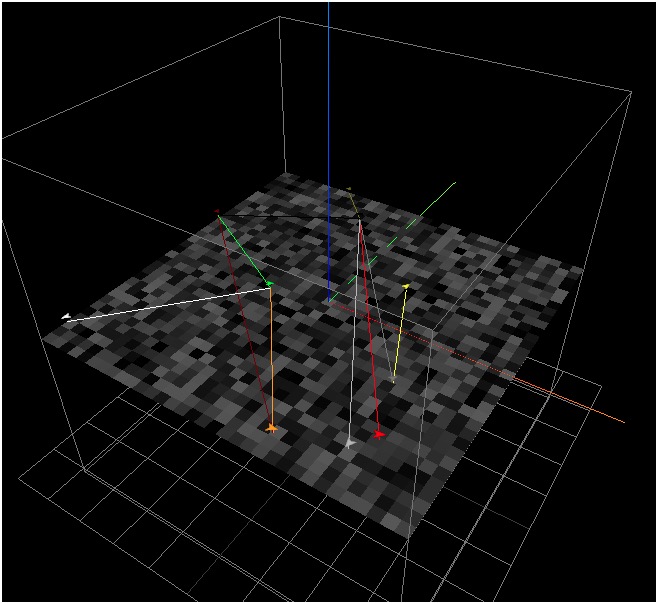
Drag the view around, looking at it at several angles.
While we're doing this, lets lose the links which are cluttering up our view. The Model has a variable, "linksToo" which we can set as false right after creating it.
const model = new Model()
model.linksToo = false
Let's do another thing with patches: if a turtles is on/over a patch, color the patch red. Now the patchesColor will have to be a function: semi-transparent (alpha = 15%)
const drawOptions = {
    turtlesSize: 4,
    patchesColor: p => {
        const turtles = p.turtlesHere
        return turtles.length === 0 ? 'rgba(255,255,255,0.15)' : 'red'
    },
}
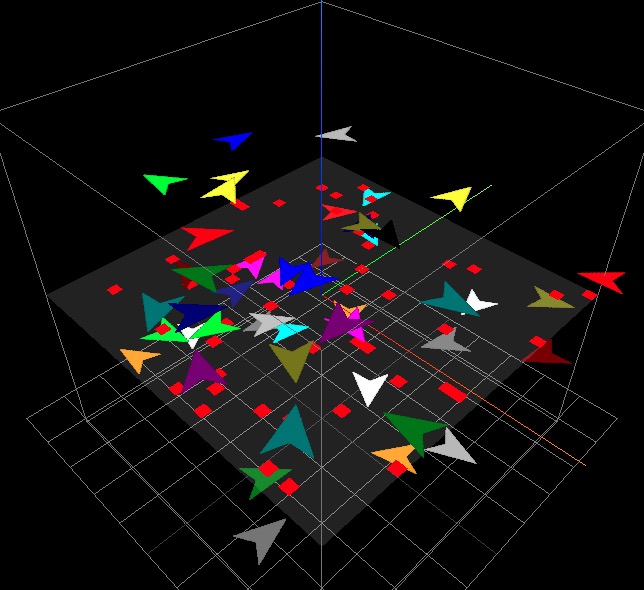
The turtles are using a default color, i.e. the drawOptions does not include a turtlesColor. The default is "random". We can ask the view for the color of a turtle:
const drawOptions = {
    turtlesSize: 4,
    patchesColor: p => {
        const turtles = p.turtlesHere
        return turtles.length === 0
            ? 'rgba(255,255,255,0.15)'
            : view.getColor(turtles[0])
    },
}
Again, drag the view around, looking at it at several angles.
Finally, lets change the turtles to be circles of size 2:
The current shape names are:
    arrow
    bug
    bug2
    circle
    dart
    frame
    frame2
    person
    person2
    ring
    ring2
    square
    triangle
.. in src/Shapes.js at the bottom of the file